
一、安装准备(参考https://tech.powereasy.net/cpzsk/wzfwqwlaq/content_23804)
1. 离线安装需要依赖GCC,通过以下命令可以检查GCC是否安装
gcc –version
银河麒麟是系统默认集成了GCC,无需要单独安装
2. 软件包下载
nginx 安装包 官方下载地址 https://nginx.org/en/download.html
所有依赖组件包下载:
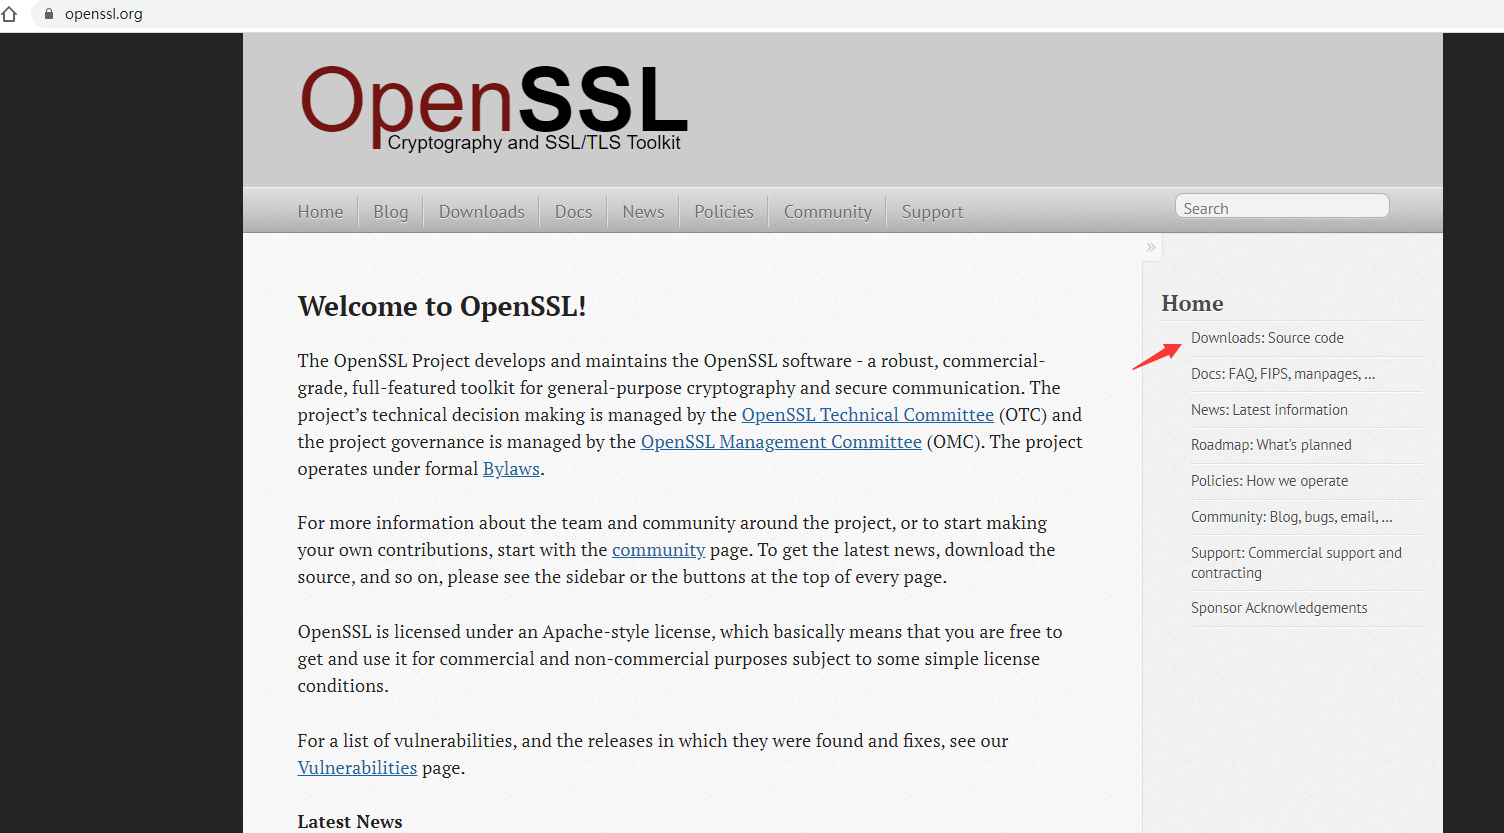
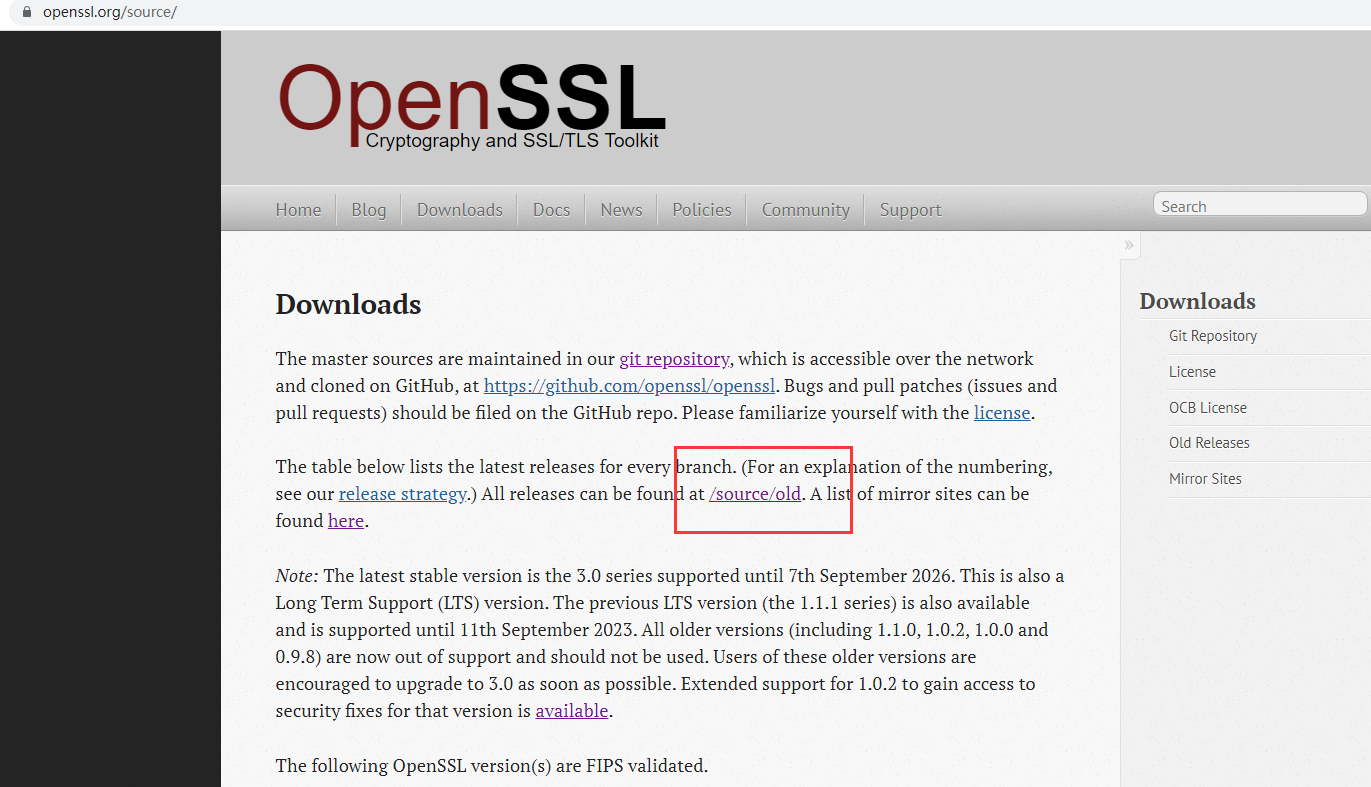
ssl 功能 需要 openssl 库 下载地址: https://www.openssl.org/
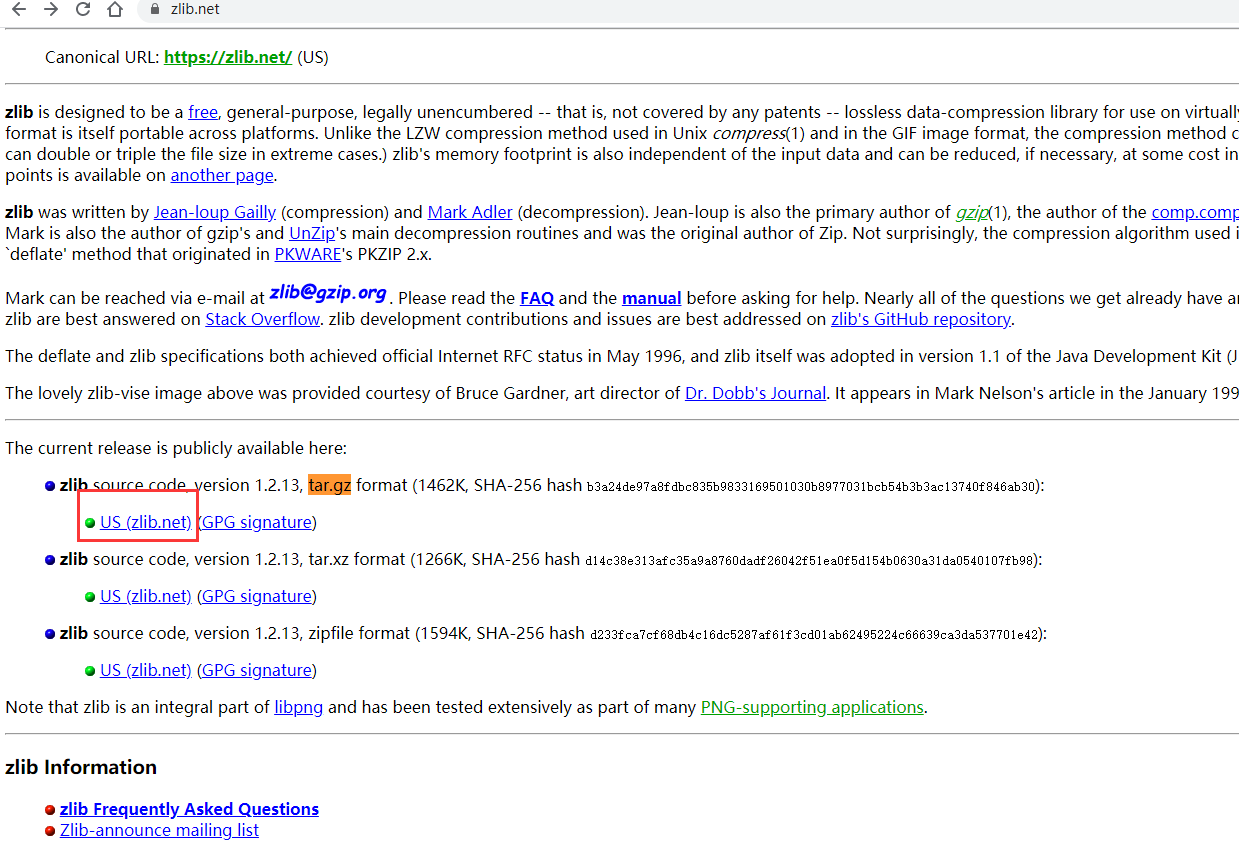
gzip 模块需要 zlib 库 下载地址: http://www.zlib.net/
rewrite 模块需要 pcre 下载地址: http://www.pcre.org/
-
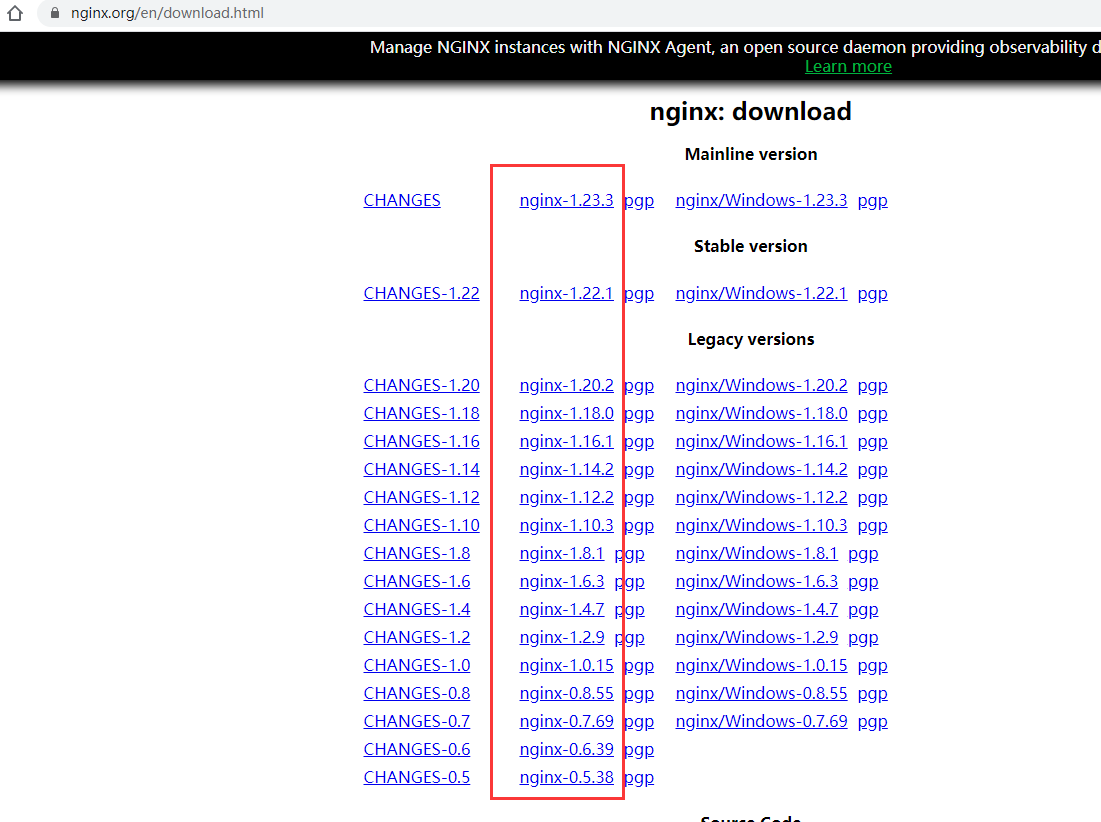

选择对应版本单击即下载 tar.gz
找到对应版本下载
历史版本没找到在哪里下载= =

选择对应的版本下载即可
二、安装
上传安装文件到/home(共6个文件)
5.2.1解压缩
tar -zxvf zlib-1.2.8.tar.gz
tar -zxvf openssl-1.1.0g.tar.gz
tar -zxvf pcre-8.38.tar.gz
tar -zxvf nginx-1.12.2.tar.gz
#安装gcc,make用 命令:yum -y install gcc-c++
#yum -y install make gcc gcc-c++ kernel-devel m4 ncurses-devel openssl-devel
5.2.2新建nginx用户和nginx组,创建需要需要的目录
groupadd -r nginx && useradd -r -g nginx -s /bin/false -M nginx
cd /var/tmp/
mkdir -p /var/tmp/nginx/{client,proxy,fastcgi,uwsgi,scgi}
mkdir /var/log/nginx
5.2.3配置,编译,安装
切换到nginx安装目录
cd /home
mv nginx-1.12.2 nginx
cd /home/nginx
./configure
--prefix=/home/nginx/
--sbin-path=/usr/sbin/nginx
--conf-path=/home/nginx/conf/nginx.conf
--error-log-path=/var/log/nginx/error.log
--http-log-path=/var/log/nginx/access.log
--pid-path=/home/nginx/nginx.pid
--lock-path=/var/lock/nginx.lock
--user=nginx
--group=nginx
--with-http_ssl_module
--with-http_dav_module
--with-http_flv_module
--with-http_realip_module
--with-http_addition_module
--with-http_stub_status_module
--with-http_sub_module
--with-http_random_index_module
--with-http_degradation_module
--with-http_secure_link_module
--with-http_gzip_static_module
--with-pcre=/home/pcre-8.38/
--with-zlib=/home/zlib-1.2.8
--with-openssl=/home/openssl-1.1.0g/
--with-debug
--with-file-aio
--with-mail
--with-mail_ssl_module
--http-client-body-temp-path=/var/tmp/nginx/client_body
--http-proxy-temp-path=/var/tmp/nginx/proxy
--http-fastcgi-temp-path=/var/tmp/nginx/fastcgi
--http-uwsgi-temp-path=/var/tmp/nginx/uwsgi
--http-scgi-temp-path=/var/tmp/nginx/scgi
--with-stream
--with-ld-opt="-Wl,-E"
make(可能报错,如果出现,则
cd /home/pcre-8.38
autoreconf -ivf
然后重复5.2.3
)
make & make install
5.2.4安装成功后做成服务模式,方便启动和关闭,将nginx文件(大概2kb)复制到/etc/init.d/目录下,还有一个nginx文件(相当于exe文件,大概8MB左右) 复制到/usr/sbin/目录下(nginx的exe文件在objs下面)
[root@centos ~]# chmod 755 /etc/init.d/nginx
[root@centos ~]# chkconfig --add nginx
[root@centos ~]# chkconfig nginx on
[root@centos ~]# chkconfig --list nginx
[root@centos ~]# service nginx stop
Stopping nginx (via systemctl): [ OK ]
[root@centos ~]# service nginx start
Starting nginx (via systemctl): [ OK ]

5.2.5测试是否安装成功
# iptables -I INPUT -p tcp --dport 80 -j ACCEPT #开放80端口
firewall-cmd --permanent --add-port=80/tcp
service nginx start
在主机浏览器中输入虚拟机IP,应该出现nginx欢迎界面
service nginx stop
★以下是让nginx开机自启:编辑rc.local文件:vi /etc/rc.local
加入 /etc/init.d/nginx start 保存退出
下次重启会生效
如果重启后发现并没有生效,原因是rc.local这个文件没有执行 那我们修改一下rc.local的权限
chmod +x /etc/rc.d/rc.local
原文链接: https://www.cnblogs.com/utomboy/p/17070216.html
欢迎关注
微信关注下方公众号,第一时间获取干货硬货;公众号内回复【pdf】免费获取数百本计算机经典书籍

原创文章受到原创版权保护。转载请注明出处:https://www.ccppcoding.com/archives/314398
非原创文章文中已经注明原地址,如有侵权,联系删除
关注公众号【高性能架构探索】,第一时间获取最新文章
转载文章受原作者版权保护。转载请注明原作者出处!