
oracle 19c图形化安装
参考:https://oracle-base.com/articles/19c/oracle-db-19c-installation-on-oracle-linux-7
1.系统环境配置
使用Oracle Linux Server 7.9
使用最小化安装,安装时确保swap空间足够
swap大小参考(一般都是16G或32G比较常见,生产一般32G)
SWAP与RAM的大小配置参考
1)、RAM为1-2GB时,SWAP大小建议为RAM大小的1.5倍
2)、RAM为2-16GB时,SWAP大小建议与RAM大小相等
3)、RAM大于16GB时,SWAP大小建议为16GB
文件格式为xfs
1.1主机名设置
修改主机名
#设置自己的主机名,使用下面的命令或是修改/etc/hostname文件
hostnamectl set-hostname ol7-db1
设置hosts解析
一般格式:
<IP-address> <fully-qualified-machine-name> <machine-name>
中间的完全限定域名用不到可以忽略:
<IP-address> <machine-name>
#在/etc/hosts中添加
192.168.32.172	db1
1.2 关闭防火墙和selinux
systemctl disable --now firewalld
sed -ir 's/SELINUX=enforcing/SELINUX=disabled/g' /etc/selinux/config
setenforce 0
1.3使用preinstall完成预配置
#更新yum源,非必要,但官方推荐更新(当然也可以用dnf)
#OEL不需要配置yum源,oracle自带,且承诺永久免费,速度在哪都是挺快的
yum update -y

#安装预配置包,它继承了一些脚本,帮我们能预先配置好一些环境,如用户,系统参数等
yum install -y oracle-database-preinstall-19c

#例如安装完成后,原先的/etc/sysctl.conf也配置了参数,/etc/security/limits.conf被放在了/etc/security/limits.d/下


#/etc/sysctl.conf相关内核参数,根据情况调整
#调整完成后
sysctl -p
或
sysctl -p /etc/sysctl.d/99-oracle-database-preinstall-19c-sysctl.conf
使之生效
非OEL系统
如果是RHEL7或者CentOS7
可以从官方仓库下载过来

curl -o oracle-database-preinstall-19c-1.0-1.el7.x86_64.rpm https://yum.oracle.com/repo/OracleLinux/OL7/latest/x86_64/getPackage/oracle-database-preinstall-19c- 1.0-1.el7.x86_64.rpm

yum -y localinstall oracle-database-preinstall-19c-1.0-1.el7.x86_64.rpm
或者:
官方文档地址:Oracle Linux Yum
资源地址:https://oss.oracle.com/ol7/SRPMS-updates/
根据地址找到对应版本的oracle-database-server-版本号-preinstall的rpm包
#进入/etc/yum.repos.d中,备份迁移其他yum源文件之后,使用下面的源
wget http://yum.oracle.com/public-yum-ol7.repo

yum makecache fast

yum list all | grep oracle-database-preinstall

yum -y install oracle-database-preinstall
1.4安装依赖
有些依赖在epel中
配置epel源,将后续需要的依赖一次装到位
yum -y install oracle-epel-release-el7.x86_64
#如果是rhel就安装普通epel源

yum makecache fast

#preinstall包中已经安装了所需的依赖,但有些包还是需要的,一次装完
yum -y install vim wget unzip binutils compat-libcap1 compat-libstdc++-33 gcc gcc-c++ glibc glibc-devel ksh libaio libaio-devel libgcc libstdc++ libstdc++-devel libXi libXtst make sysstat unixODBC unixODBC-devel net-tools smartmontools rlwrap xdpyinfo

#主要是epel源中有rlwrap xdpyinfo包,不影响个人习惯,不装也行
1.5配置oracle用户和相关目录
设置oracle用户密码
echo 'Oracle123' | passwd --stdin oracle
配置目录和环境变量
#可以将数据目录作放在单独磁盘挂载,与软件目录隔开。不然要保证为操作系统预留合理的根分区大小。
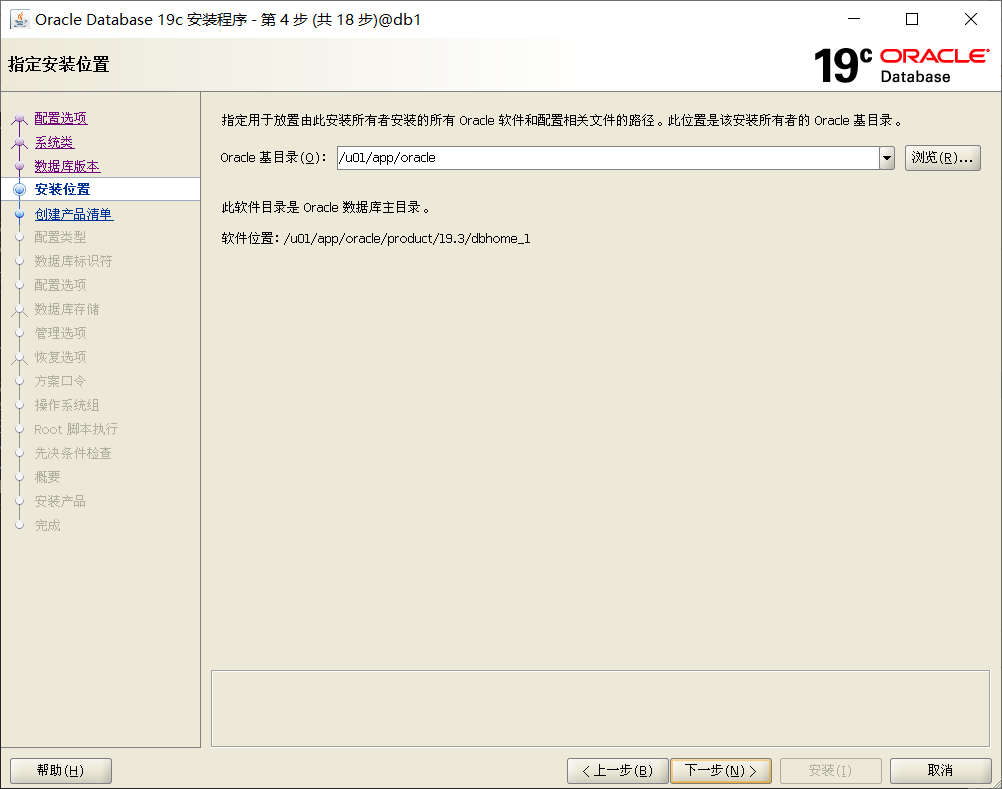
mkdir -p /u01/app/oracle/product/19.3/dbhome_1
chown -R oracle:oinstall /u01
chmod -R 775 /u01
#为oracle用户添加环境变量
#追加到/home/oracle/.bash_profile中
export ORACLE_BASE=/u01/app/oracle
export ORACLE_HOME=$ORACLE_BASE/product/19.3/dbhome_1
export ORA_INVENTORY=/u01/app/oraInventory
export ORACLE_SID=orcl
#export NLS_LANG="SIMPLIFIED CHINESE_CHINA.AL32UTF8"
#nsl_lang要和数据库一致:select userenv('language') from dual;
export PATH=/usr/sbin:/usr/local/bin:$PATH
export PATH=$ORACLE_HOME/bin:$PATH
export LD_LIBRARY_PATH=$ORACLE_HOME/lib:/lib:/usr/lib
export CLASSPATH=$ORACLE_HOME/jlib:$ORACLE_HOME/rdbms/jlib
alias sqlplus='rlwrap sqlplus'
alias rman='rlwrap rman'
alias asmcmd='rlwrap asmcmd'
1.6禁用透明大页
Oracle Linux 官方已经自动禁用,不在需要手动禁用
但其他系统仍任需要手动配置
查看是否开启透明大页
#红帽内核
cat /sys/kernel/mm/redhat_transparent_hugepage/enabled

#非红帽内核
cat /sys/kernel/mm/transparent_hugepage/enabled

#查看输出的中括号括在哪里,输出中括号在always上,代表启用,never代表禁用
[root@db1 ~]# cat /sys/kernel/mm/transparent_hugepage/enabled
always madvise [never]


#其他系统禁用大页
更改 /etc/default/grub,在参数rhgb quiet后添加transparent_hugepage=never
老版本系统可能使用/etc/grub.conf
grub2-mkconfig -o /boot/grub2/grub.cfg
重启即可
2.安装
将安装包上传到软件存放目录
mkdir /u01/app/soft
chown -R oracle.oinstall /u01/app/soft/
解压
[root@db1 ~]# cd /u01/app/soft
[root@db1 soft]# unzip LINUX.X64_193000_db_home.zip -d /u01/app/oracle/product/19.3/dbhome_1

#更改属组
chown -R oracle.oinstall /u01/app/oracle/product/19.3/dbhome_1
开始安装
#切换成oracle用户,进入解压目录
su - oracle
cd /u01/app/oracle/product/19.3/dbhome_1
#DISPLAY为自己ip:0.0,之后可以xdpyinfo测一下
export DISPLAY=192.168.0.105:0.0
#运行脚本,开始图形化安装
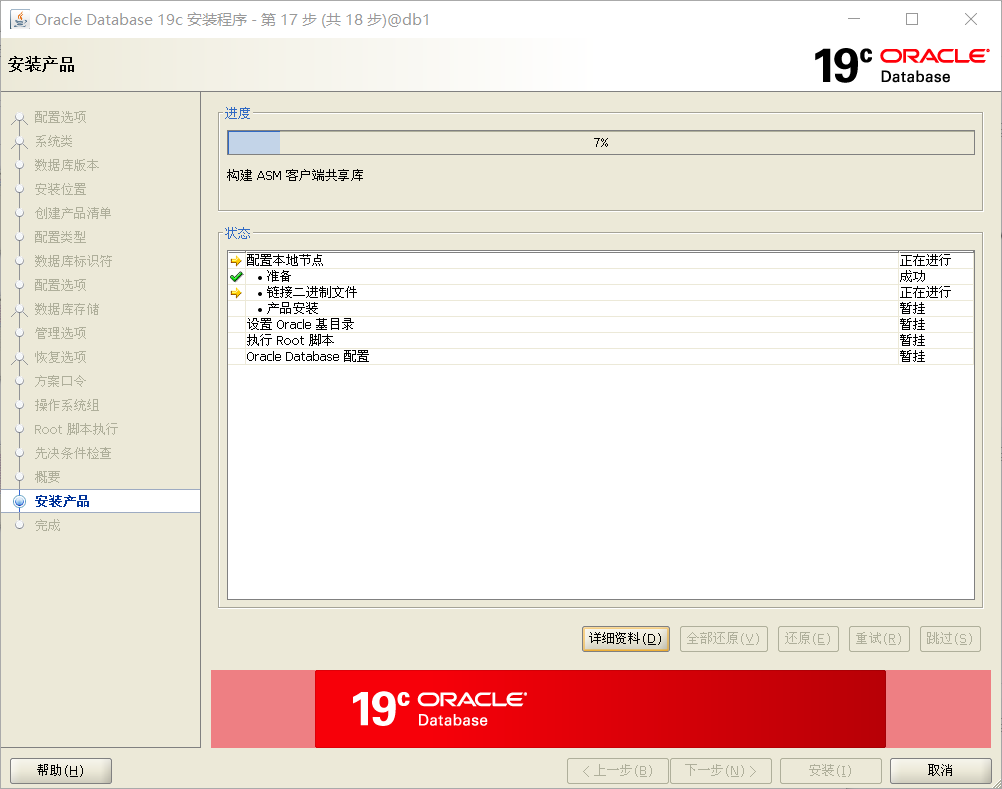
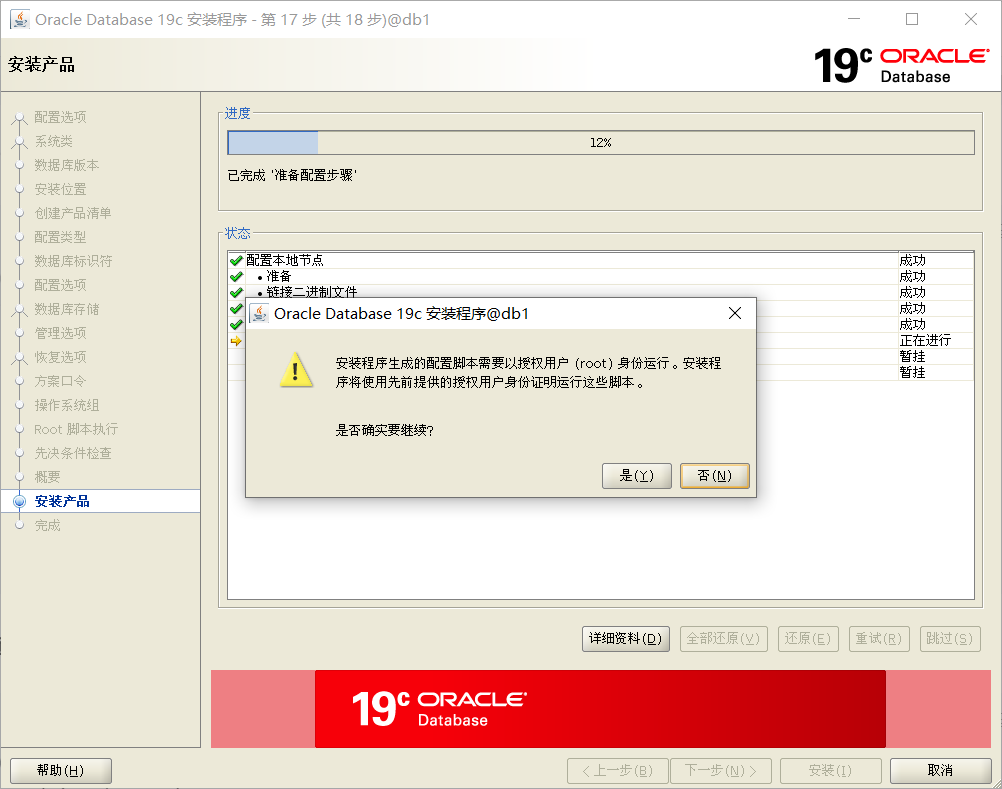
[oracle@db1 dbhome_1]$ ./runInstaller


3.补充
中文
在安装系统时,选择语言决定LANG变量,从而决定安装界面的语言环境
如果不习惯英文,可以按以下方法更改
首先确保字体包组已经安装
#只需要安装fontconfig-devel即可,之后调用图形化安装就没有方框乱码了
yum groupinstall "fonts" -y
yum install -y dtrace-modules-provider-headers dtrace-utils elfutils-libelf elfutils-libelf-devel fontconfig-devel
修改/etc/locale.conf文件
将LANG变量改为“zh_CN.utf8”
vim /etc/locale.conf
LANG=zh_CN.utf8
乱码
#先查看,确定数据库使用的编码字符集
select userenv('language') from dual;

#将环境变量NLS_LANG与数据库的保持一致即可
内核的 shmall 和 shmmax 参数
SHMMAX = 配置了最大的内存segment的大小 ——> 这个设置的比SGA_MAX_SIZE大比较好。
SHMMAX参数:Linux进程可以分配的单独共享内存段的最大值。一般设置为内存总大小的一半。这个值的设置应该大于SGA_MAX_TARGET或MEMORY_MAX_TARGET的值,因此对于安装Oracle数据库的系统,shmmax的值应该比内存的二分之一大一些。
SHMMIN= 最小的内存segment的大小 。
shmall =是全部允许使用的共享内存大小,shmmax 是单个段允许使用的大小。这两个可以设置为内存的 90%。例如 16G 内存,16x1024x1024x1024x90% = 15461882265,shmall 的大小为 15461882265/4k(getconf PAGESIZE可得到) = 3774873。
shmall设置共享内存总页数。这个值太小有可能导致数据库启动报错。很多人调整系统内核参数的时候只关注SHMMAX参数,而忽略了SHMALL参数的设置。
关于开机自启
方法一:自定义dbstart.sh启动脚本
1.创建自启动脚本
# vim /home/oracle/dbstart.sh
#内容如下:
su - oracle  <<EOU
lsnrctl start
sqlplus / as sysdba  <<EOF
startup
EOF
EOU
参数说明:
“<<”表示重定向。一般EOF定义子命令,与“<<”结合使用,到下一个EOF结束。也可以用任意单词或字母代替EOF。如,这里为了区分2个子命令,用EOU,效果是一样的。
2.将启动脚本添加到/etc/rc.local
# vim /etc/rc.local
#增加内容如下:
#oracle_start
sh /home/oracle/dbstart.sh
方法二:配置oratab,使用oracle默认dbstart脚本启动
1.配置oratab
# vim /etc/oratab
将orcl:/u01/app/oracle/product/11.2.0/dbhome_1:N改为
orcl:/u01/app/oracle/product/11.2.0/dbhome_1:Y


#例如:
orcl:/u01/app/oracle/product/12.2.0.1/db_1:Y
2.修改oracle默认dbstart脚本
# vim /u01/app/oracle/product/11.2.0/dbhome_1/bin/dbstart
#在大约80行左右有如下内容
# First argument is used to bring up Oracle Net Listener
ORACLE_HOME_LISTNER=$1

#修改为
# First argument is used to bring up Oracle Net Listener
ORACLE_HOME_LISTNER=$ORACLE_HOME

#当然也可以传参给$1,如果有多个库,可以脚本后面跟参数,传参给$1
3.将启动脚本添加到/etc/rc.local
# vim /etc/rc.local

#增加以下内容
su oracle -lc "/u01/app/oracle/product/12.2.0.1/db_1/bin/lsnrctl start"
su oracle -lc "/u01/app/oracle/product/12.2.0.1/db_1/bin/dbstart"

#确保有执行权限
chmod +x /etc/rc.d/rc.local
方法三:用systemd方式
根据方法一脚本的方式,配置systemd
systemd一般是root用户使用,sudo也行,但大多数人习惯了使用oracle用户运维,各凭喜好了
#启动数据库实例,路径/oracle/home/bin/dbstart
su - oracle  <<EOU
sqlplus / as sysdba  <<EOF
startup;
EOF
EOU


#重启数据库实例脚本,路径/oracle/home/bin/dbrestart
su - oracle  <<EOU
sqlplus / as sysdba <<EOF
shutdown immediate;
startup;
EOF
EOU

#关闭,/oracle/home/bin/dbshut
su - oracle  <<EOU
sqlplus / as sysdba <<EOF
shutdown immediate;
EOF
EOU
配置及数据库示例的systemd
#vim /usr/lib/systemd/system/oracle.service
[Unit]
Description=Oracle RDBMS
After=network.target

[Service]
Type=simple
ExecStart=/usr/bin/su - oracle -c "/oracle/home/bin/dbstart >> /tmp/oracle.log"
ExecReload=/usr/bin/su - oracle -c "/oracle/home/bin/dbrestart >> /tmp/oracle.log"
ExecStop=/usr/bin/su - oracle -c "/oracle/home/bin/dbshut >> /tmp/oracle.log"
RemainAfterExit=yes

[Install]
WantedBy=multi-user.target

#重载
systemctl daemon-reload

#使用
systemctl start oracle # 启动oracle
systemctl restart oracle # 重启oracle
systemctl stop oracle # 关闭oracle
同样,可以给监听单独配置systemd
#vim /usr/lib/systemd/system/lsnrctl.service
#配置了oracle的环境变量,所以没有写lsnrctl绝对路径
[Unit]
Description=Oracle lsnrctl
After=network.target

[Service]
Type=simple
ExecStart=/usr/bin/su - oracle -c "lsnrctl start >> /tmp/lsnrctl.log"
ExecReload=/usr/bin/su - oracle -c "lsnrctl reload >> /tmp/lsnrctl.log"
ExecStop=/usr/bin/su - oracle -c "lsnrctl stop >> /tmp/lsnrctl.log"
RemainAfterExit=yes

[Install]
WantedBy=multi-user.target

#重载
systemctl daemon-reload

#使用
systemctl start lsnrctl # 启动lsnrctl
systemctl restart lsnrctl # 重启lsnrctl
systemctl stop lsnrctl # 关闭lsnrctl
静默安装
应答文件:
oracle.install.responseFileVersion=/oracle/install/rspfmt_dbinstall_response_schema_v19.0.0
oracle.install.option=INSTALL_DB_AND_CONFIG
UNIX_GROUP_NAME=oinstall
INVENTORY_LOCATION=/u01/app/oraInventory
ORACLE_BASE=/u01/app/oracle
oracle.install.db.InstallEdition=SE2
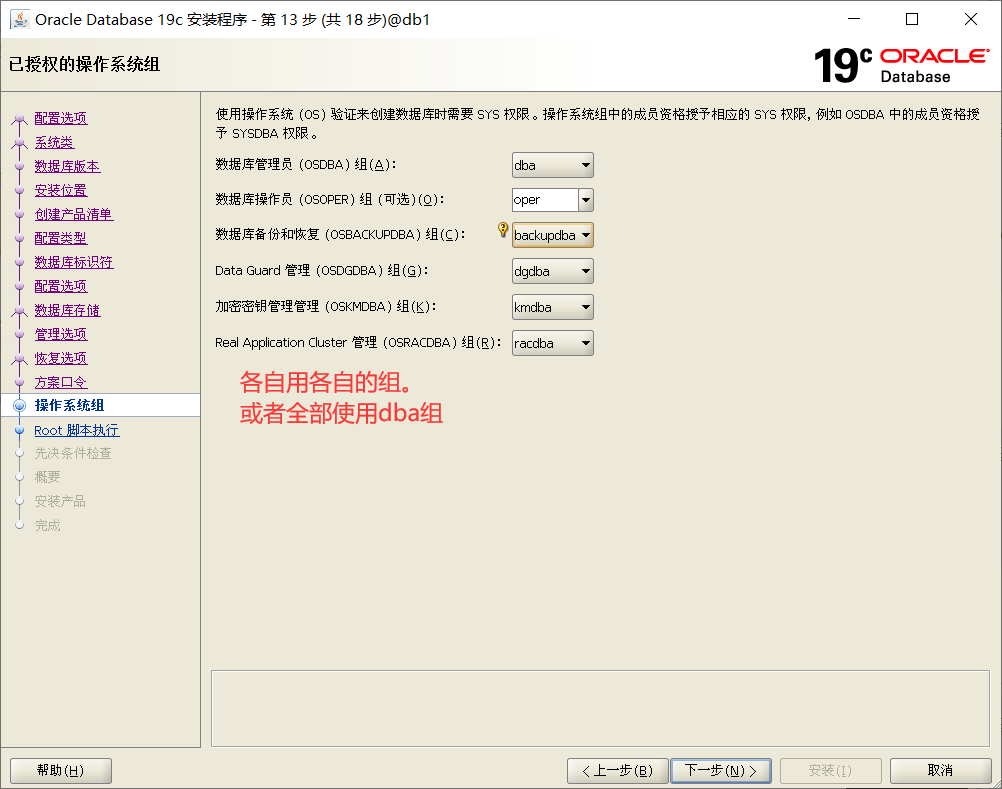
oracle.install.db.OSDBA_GROUP=dba
oracle.install.db.OSOPER_GROUP=dba
oracle.install.db.OSBACKUPDBA_GROUP=dba
oracle.install.db.OSDGDBA_GROUP=dba
oracle.install.db.OSKMDBA_GROUP=dba
oracle.install.db.OSRACDBA_GROUP=dba
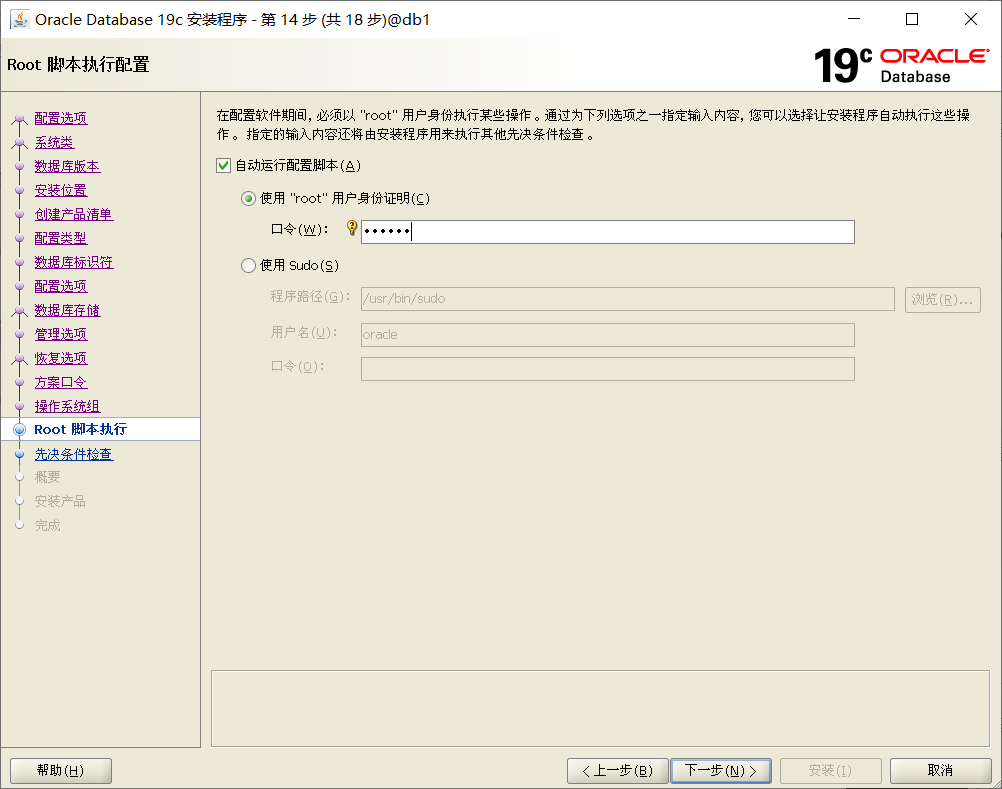
oracle.install.db.rootconfig.executeRootScript=true
oracle.install.db.rootconfig.configMethod=ROOT
oracle.install.db.rootconfig.sudoPath=
oracle.install.db.rootconfig.sudoUserName=
oracle.install.db.CLUSTER_NODES=
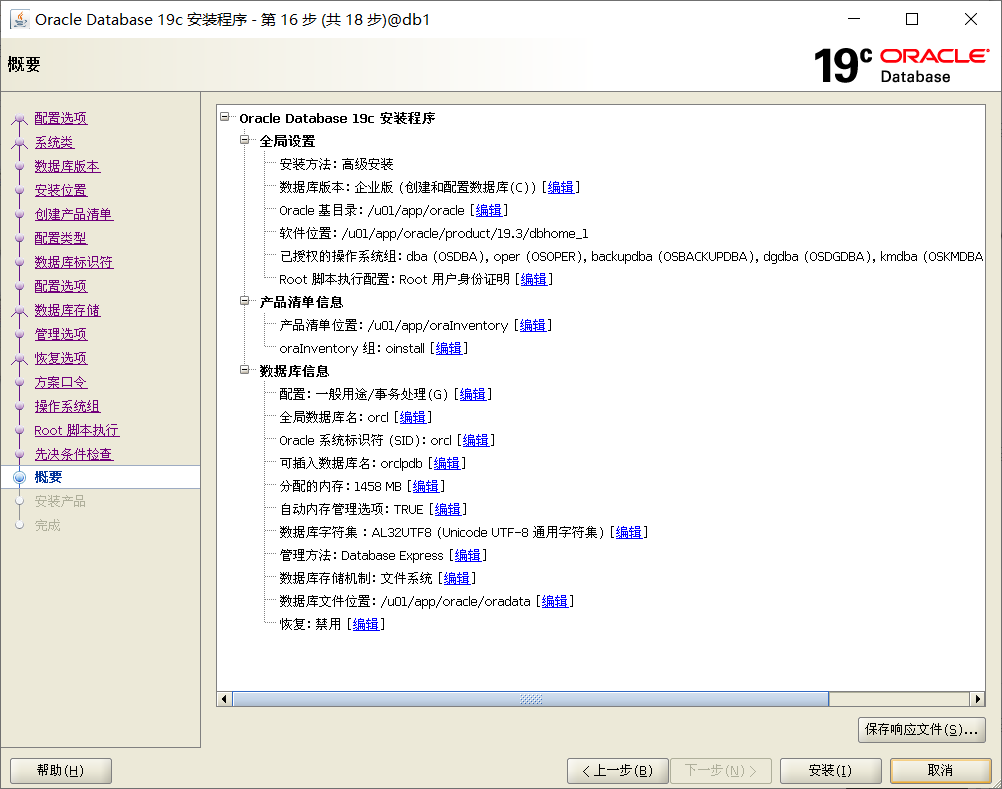
oracle.install.db.config.starterdb.type=GENERAL_PURPOSE
oracle.install.db.config.starterdb.globalDBName=orcl
oracle.install.db.config.starterdb.SID=orcl
oracle.install.db.ConfigureAsContainerDB=true
oracle.install.db.config.PDBName=orclpdb
oracle.install.db.config.starterdb.characterSet=AL32UTF8
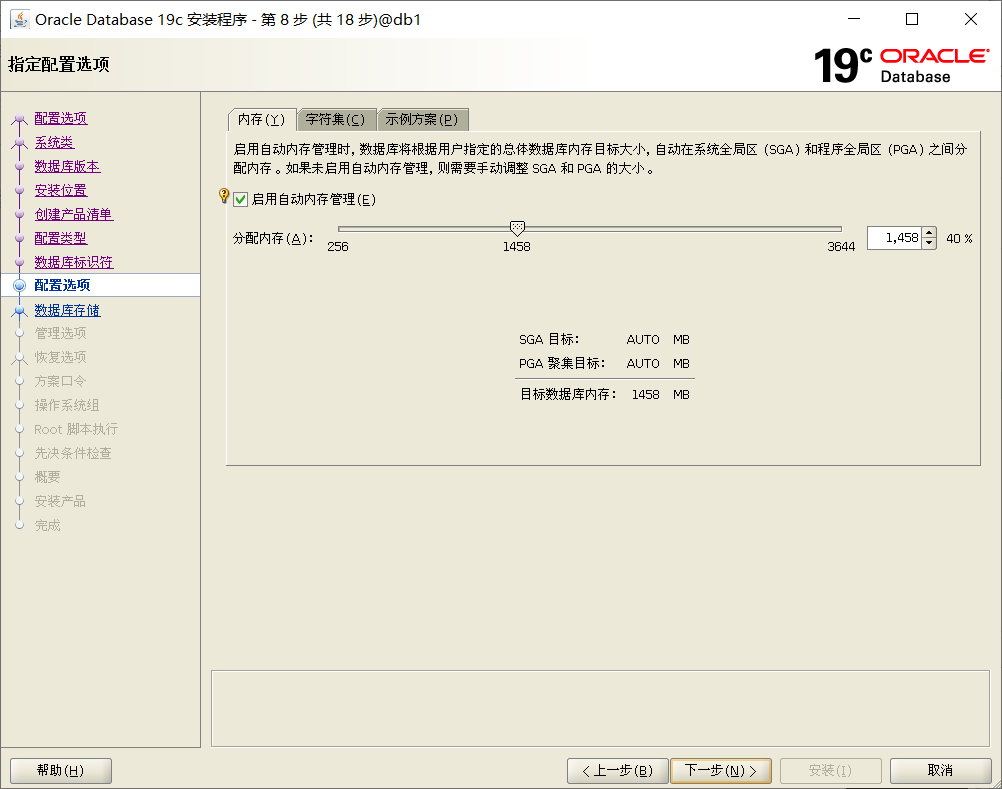
oracle.install.db.config.starterdb.memoryOption=false
oracle.install.db.config.starterdb.memoryLimit=3069
oracle.install.db.config.starterdb.installExampleSchemas=false
oracle.install.db.config.starterdb.password.ALL=Oracle123
oracle.install.db.config.starterdb.password.SYS=
oracle.install.db.config.starterdb.password.SYSTEM=
oracle.install.db.config.starterdb.password.DBSNMP=
oracle.install.db.config.starterdb.password.PDBADMIN=
oracle.install.db.config.starterdb.managementOption=DEFAULT
oracle.install.db.config.starterdb.omsHost=
oracle.install.db.config.starterdb.omsPort=0
oracle.install.db.config.starterdb.emAdminUser=
oracle.install.db.config.starterdb.emAdminPassword=
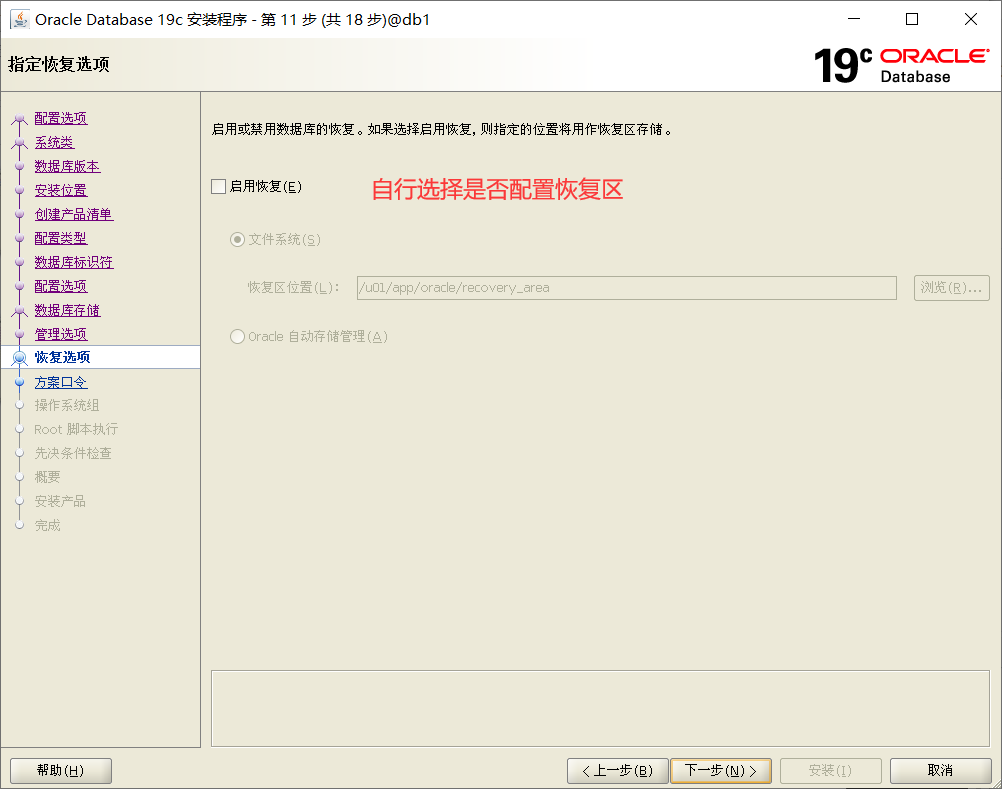
oracle.install.db.config.starterdb.enableRecovery=true
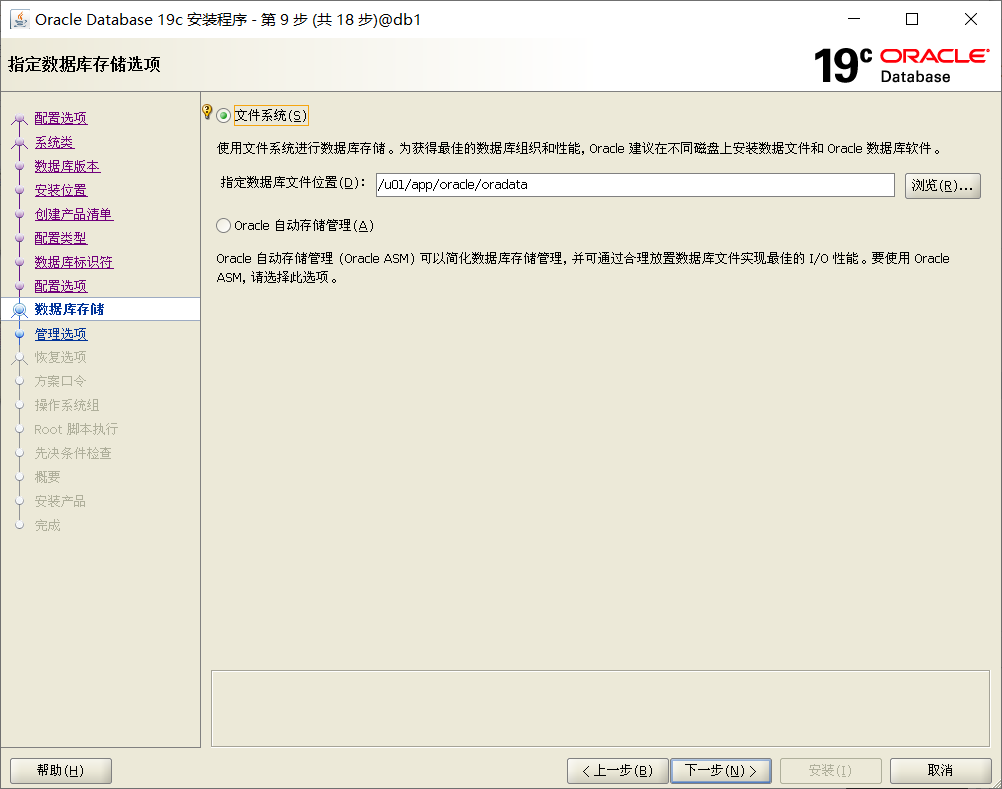
oracle.install.db.config.starterdb.storageType=FILE_SYSTEM_STORAGE
oracle.install.db.config.starterdb.fileSystemStorage.dataLocation=/u01/app/oracle/oradata
oracle.install.db.config.starterdb.fileSystemStorage.recoveryLocation=/u01/app/oracle/recovery_area
oracle.install.db.config.asm.diskGroup=
oracle.install.db.config.asm.ASMSNMPPassword=
安装
[oracle@19cdb135 dbhome_1]$ ./runInstaller -silent -responseFile /home/oracle/db.rsp
Launching Oracle Database Setup Wizard...


 Enter password for 'root' user:
The response file for this session can be found at:
 /u01/app/oracle/product/19.3/dbhome_1/install/response/db_2022-07-08_10-09-13PM.rsp

You can find the log of this install session at:
 /tmp/InstallActions2022-07-08_10-09-13PM/installActions2022-07-08_10-09-13PM.log
Successfully Setup Software.
As install user, execute the following command to complete the configuration.
        /u01/app/oracle/product/19.3/dbhome_1/runInstaller -executeConfigTools -responseFile /home/oracle/db.rsp [-silent]


Moved the install session logs to:
 /u01/app/oraInventory/logs/InstallActions2022-07-08_10-09-13PM


[oracle@19cdb135 dbhome_1]$ /u01/app/oracle/product/19.3/dbhome_1/runInstaller -executeConfigTools -responseFile /home/oracle/db.rsp -silent
Launching Oracle Database Setup Wizard...

You can find the logs of this session at:
/u01/app/oraInventory/logs/InstallActions2022-07-08_10-18-26PM

Successfully Configured Software.
原文链接: https://www.cnblogs.com/shipment/p/16214545.html
欢迎关注
微信关注下方公众号,第一时间获取干货硬货;公众号内回复【pdf】免费获取数百本计算机经典书籍

原创文章受到原创版权保护。转载请注明出处:https://www.ccppcoding.com/archives/188958
非原创文章文中已经注明原地址,如有侵权,联系删除
关注公众号【高性能架构探索】,第一时间获取最新文章
转载文章受原作者版权保护。转载请注明原作者出处!